
How to make a seed snail
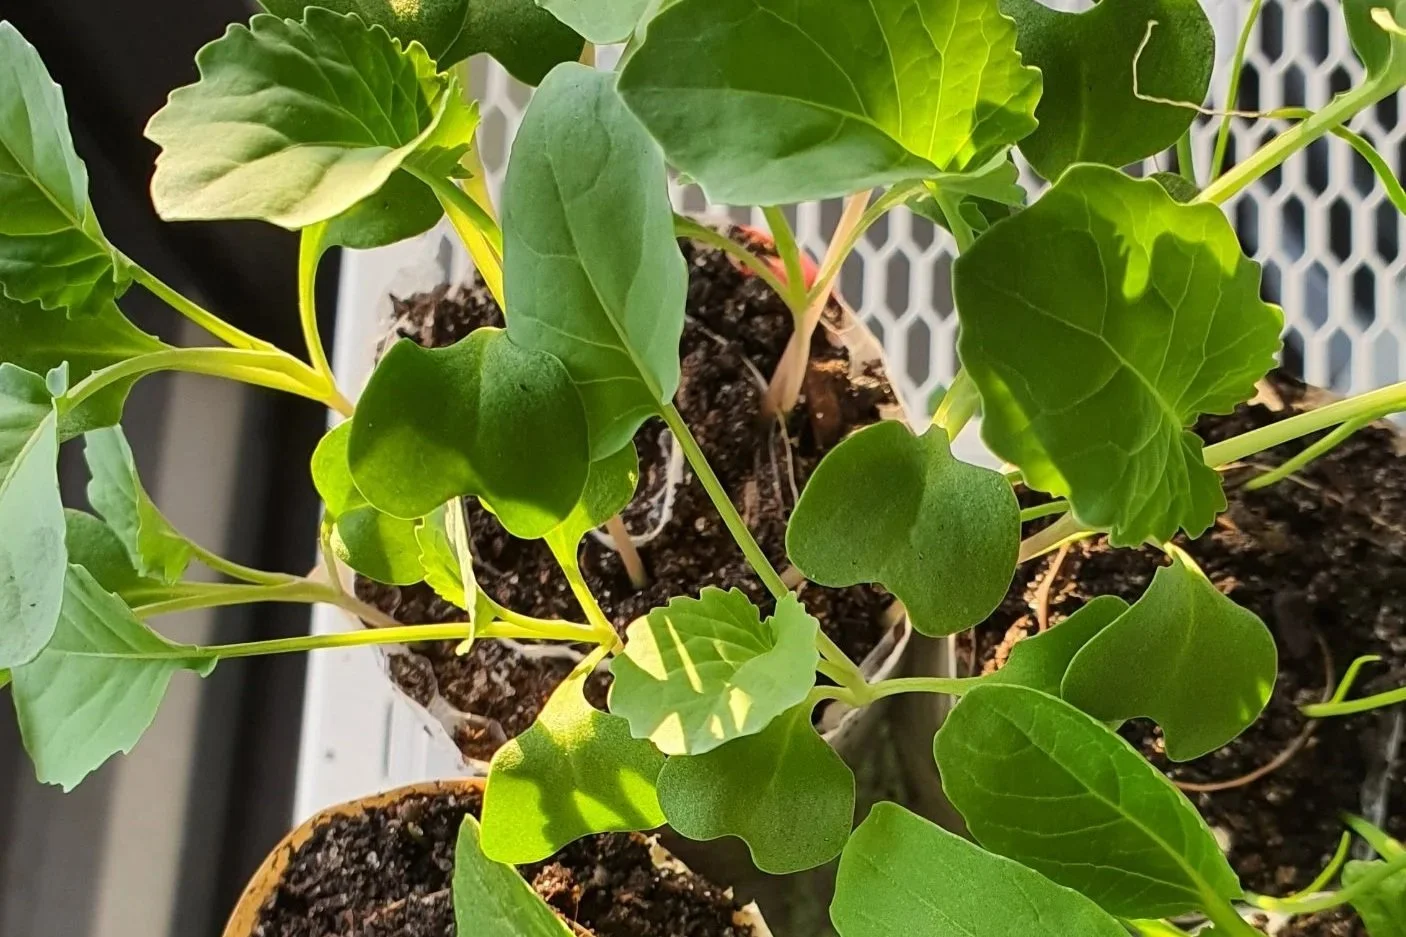
Seed snails three weeks after sowing
It's time to start sowing cool season crops, and this year I'm exclusively using seed snails. After trialling them last year, my clients and I have found much better germination rates and better roots than we got from sowing in punnets. Here’s how you can get started with this easy and space-saving propagation method.
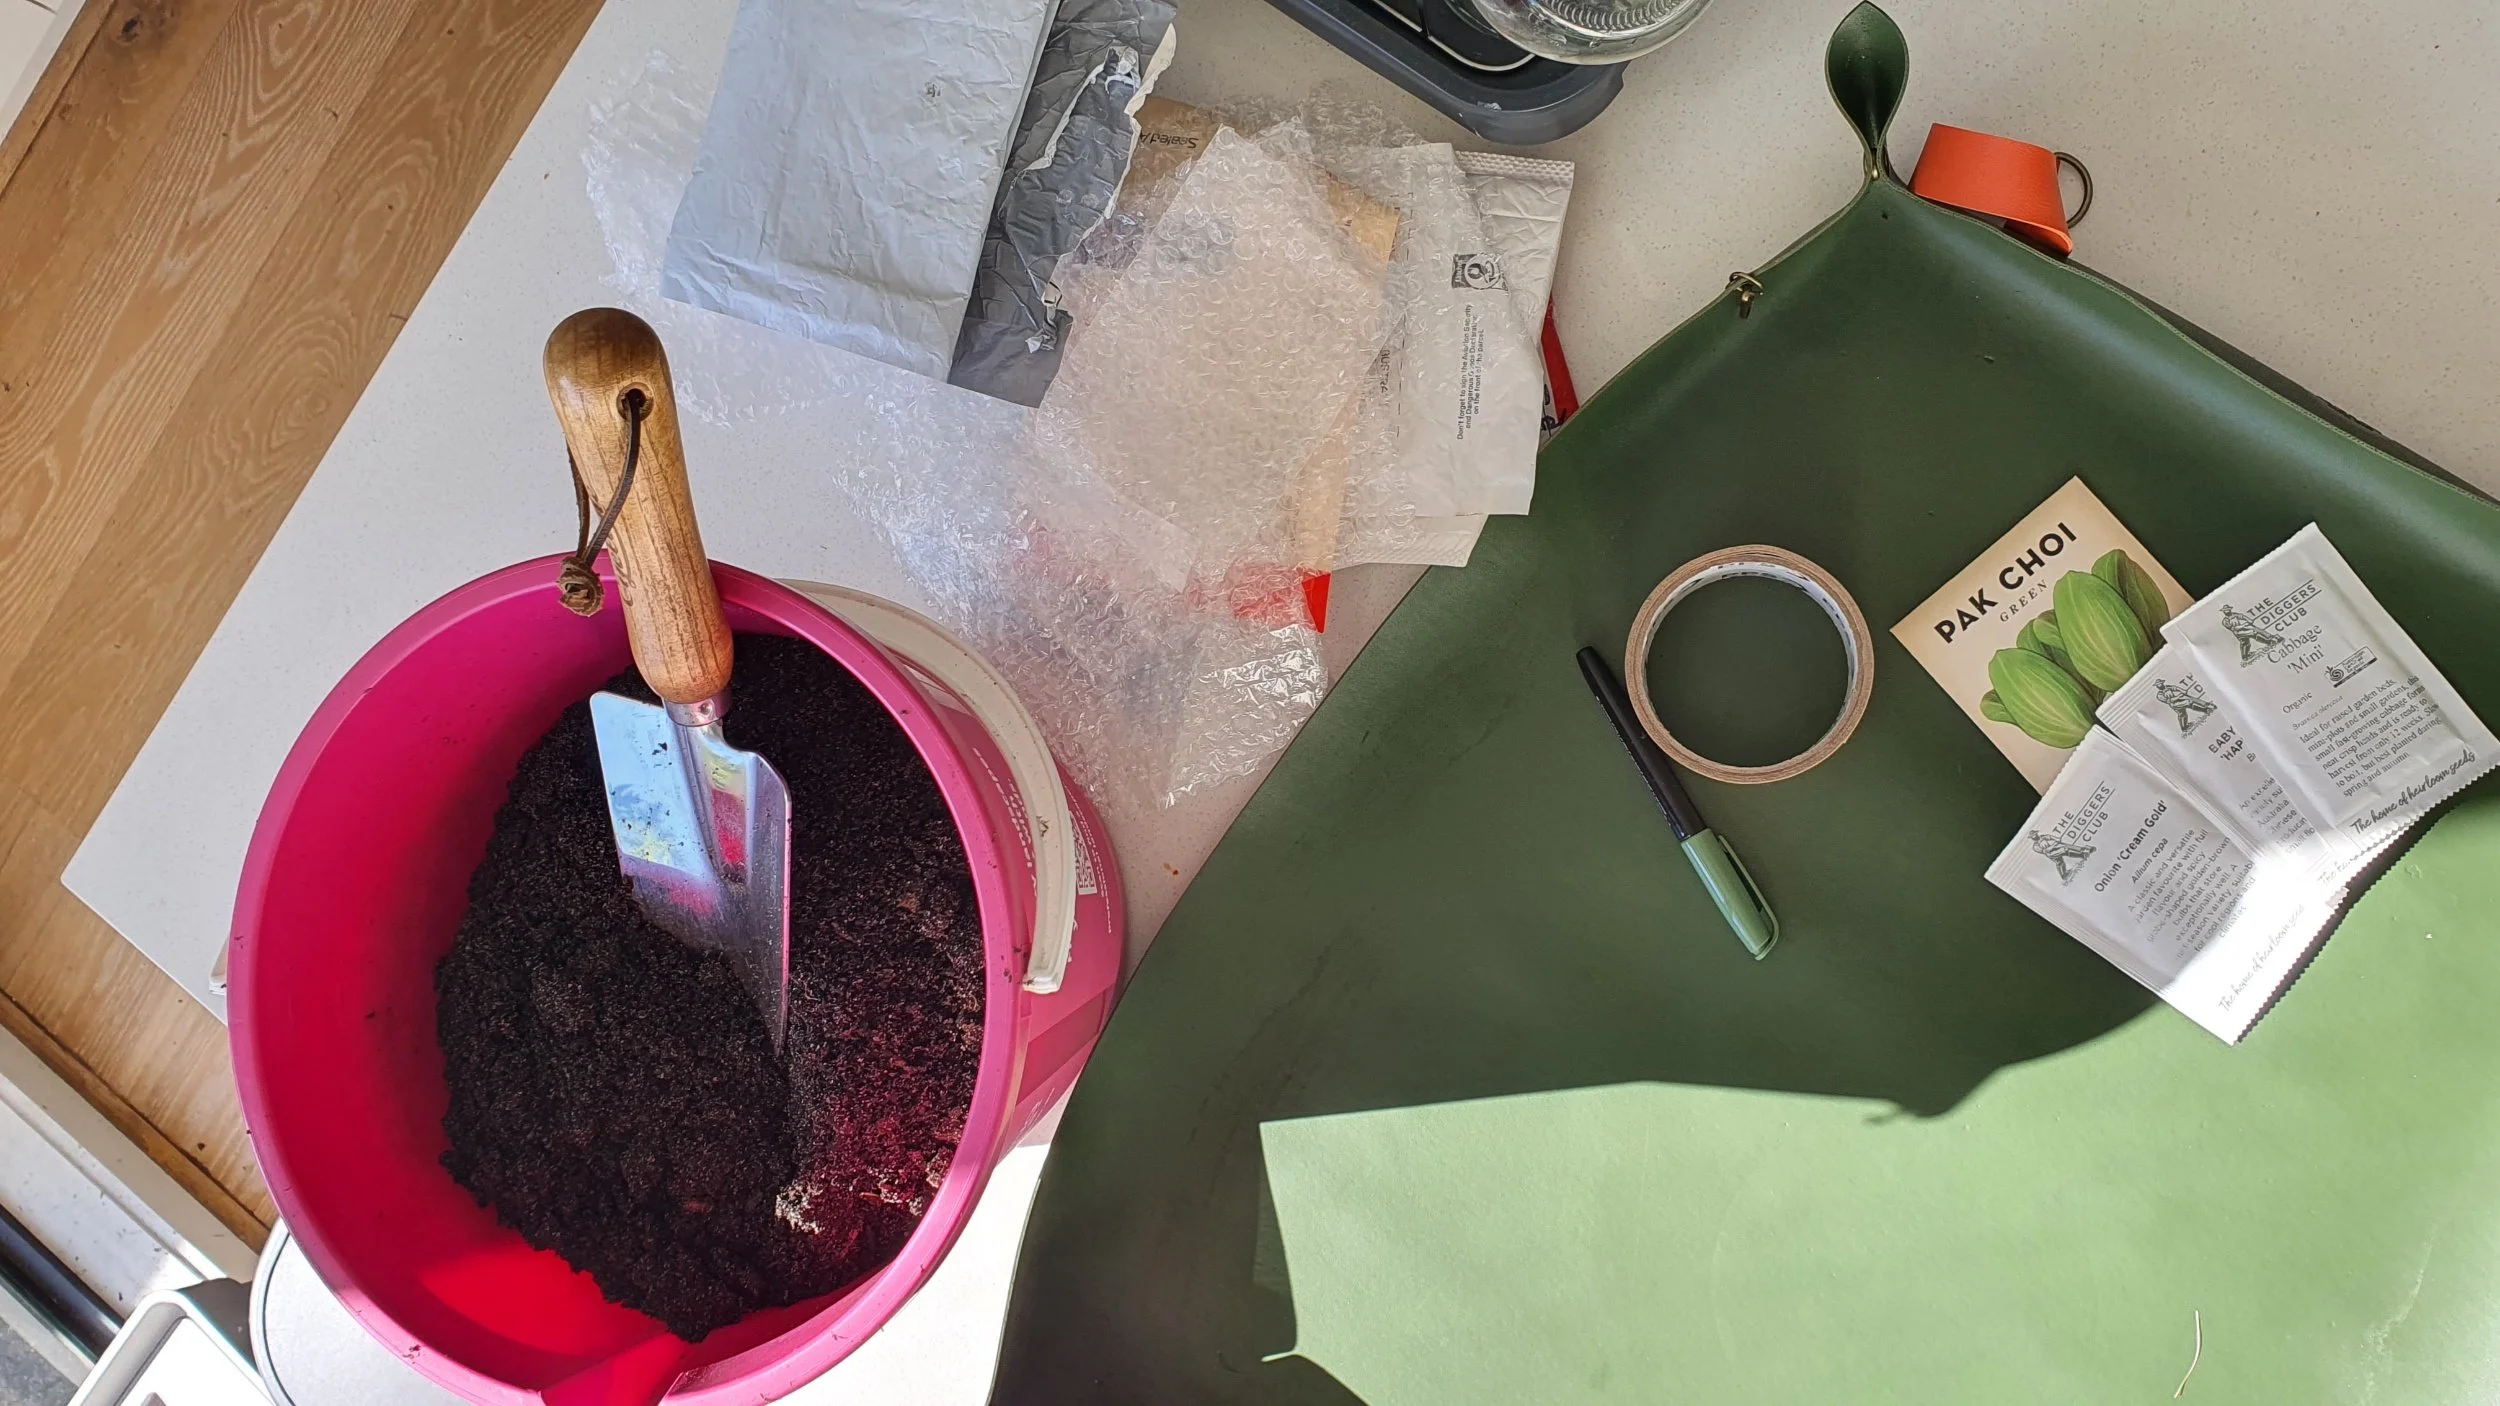
You will need:
Repurposed plastic packaging, bubblewrap or brown paper (I used small padded envelopes)
Tape to secure
Seed raising mix (you can substitute with sifted potting mix to remove large particles and fertiliser granules)
Misting bottle of water
Container to place them in (a deep oven dish works well)
If you’re working indoors, a potting mat will help keep your work surface clean
Method
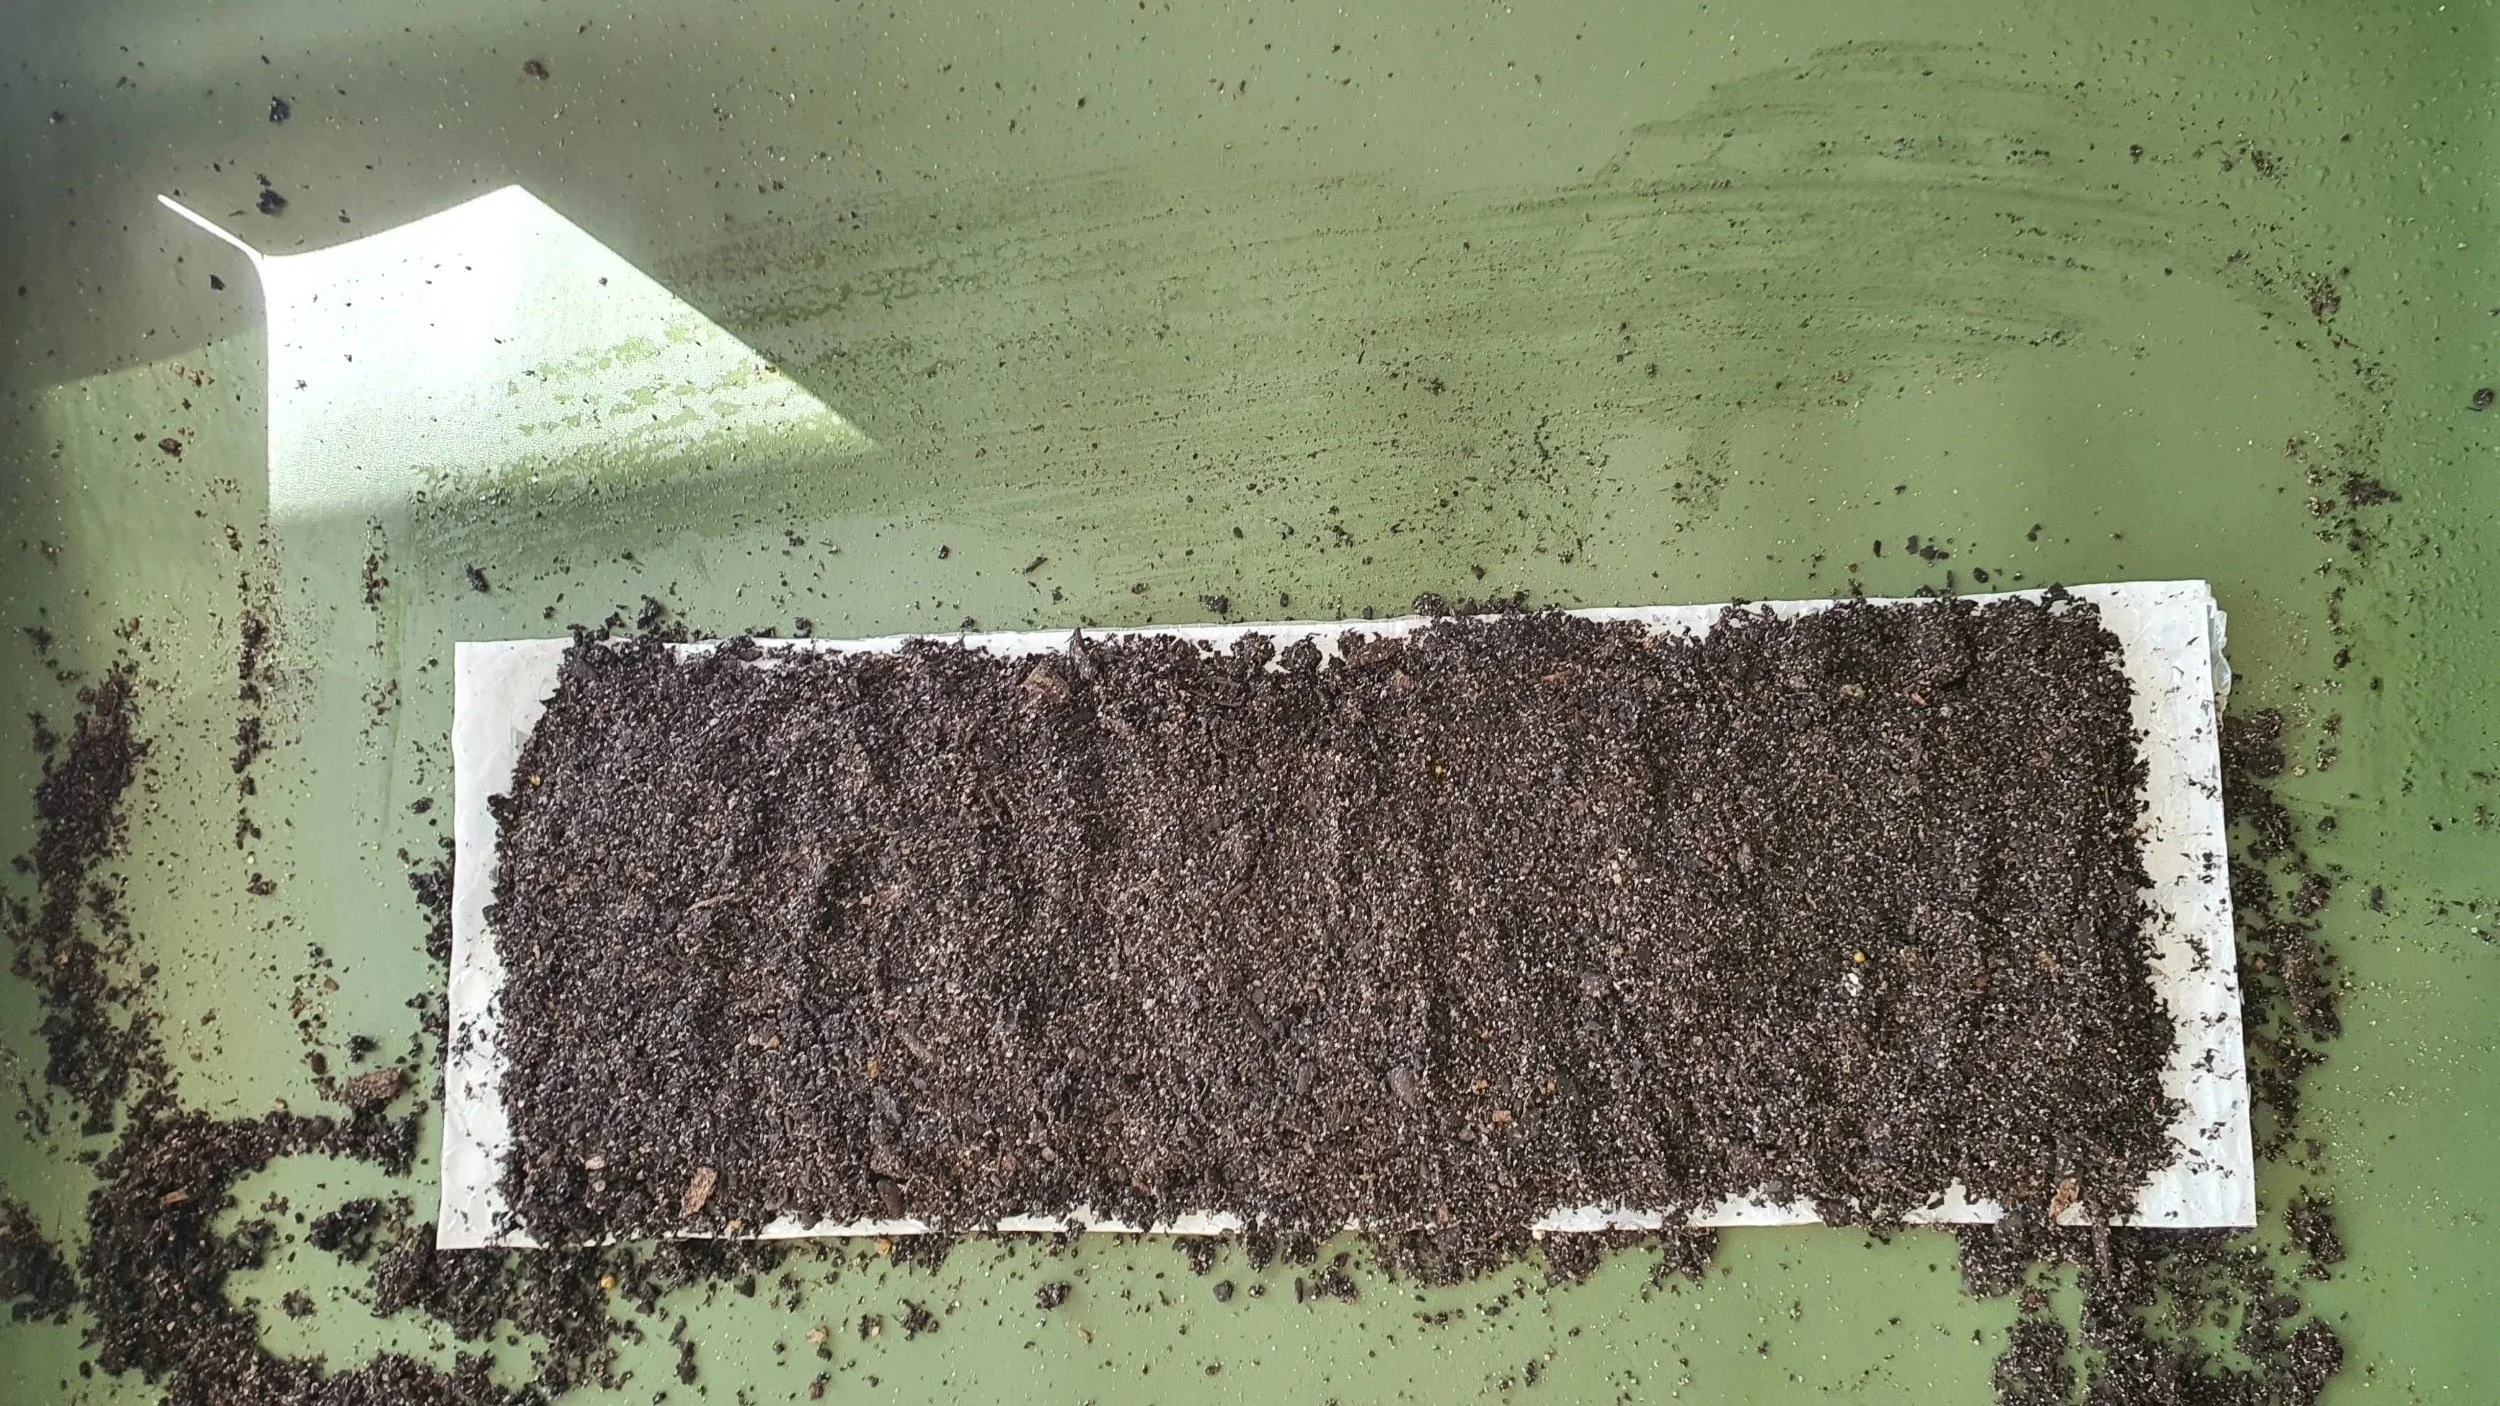
Cut your plastic or paper to make a strip about 10cm high by 30cm long. The straighter the bottom edge, the better the snail will stand.
Place a layer of seed raising mix over the strip, about 1cm thick. Don’t worry if it doesn’t go right to the edges.
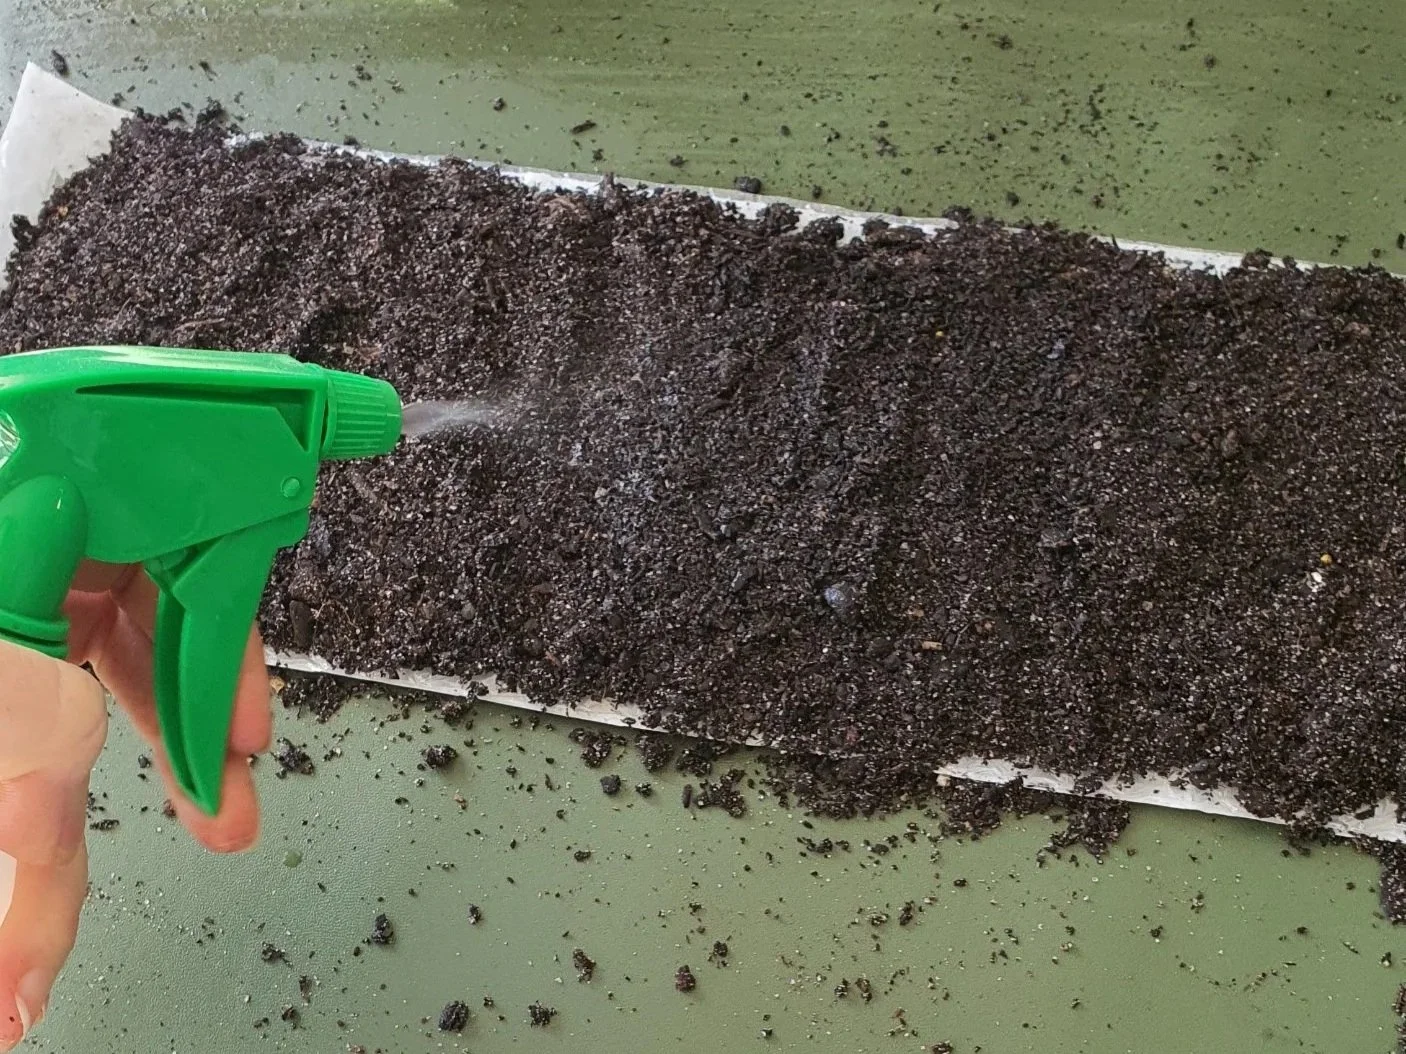
3. Cut a piece of tape and label it, ready to secure the snail.
4. Lightly mist the seed raising mix to help it stay put during rolling.
5. Roll up the snail and secure with tape.
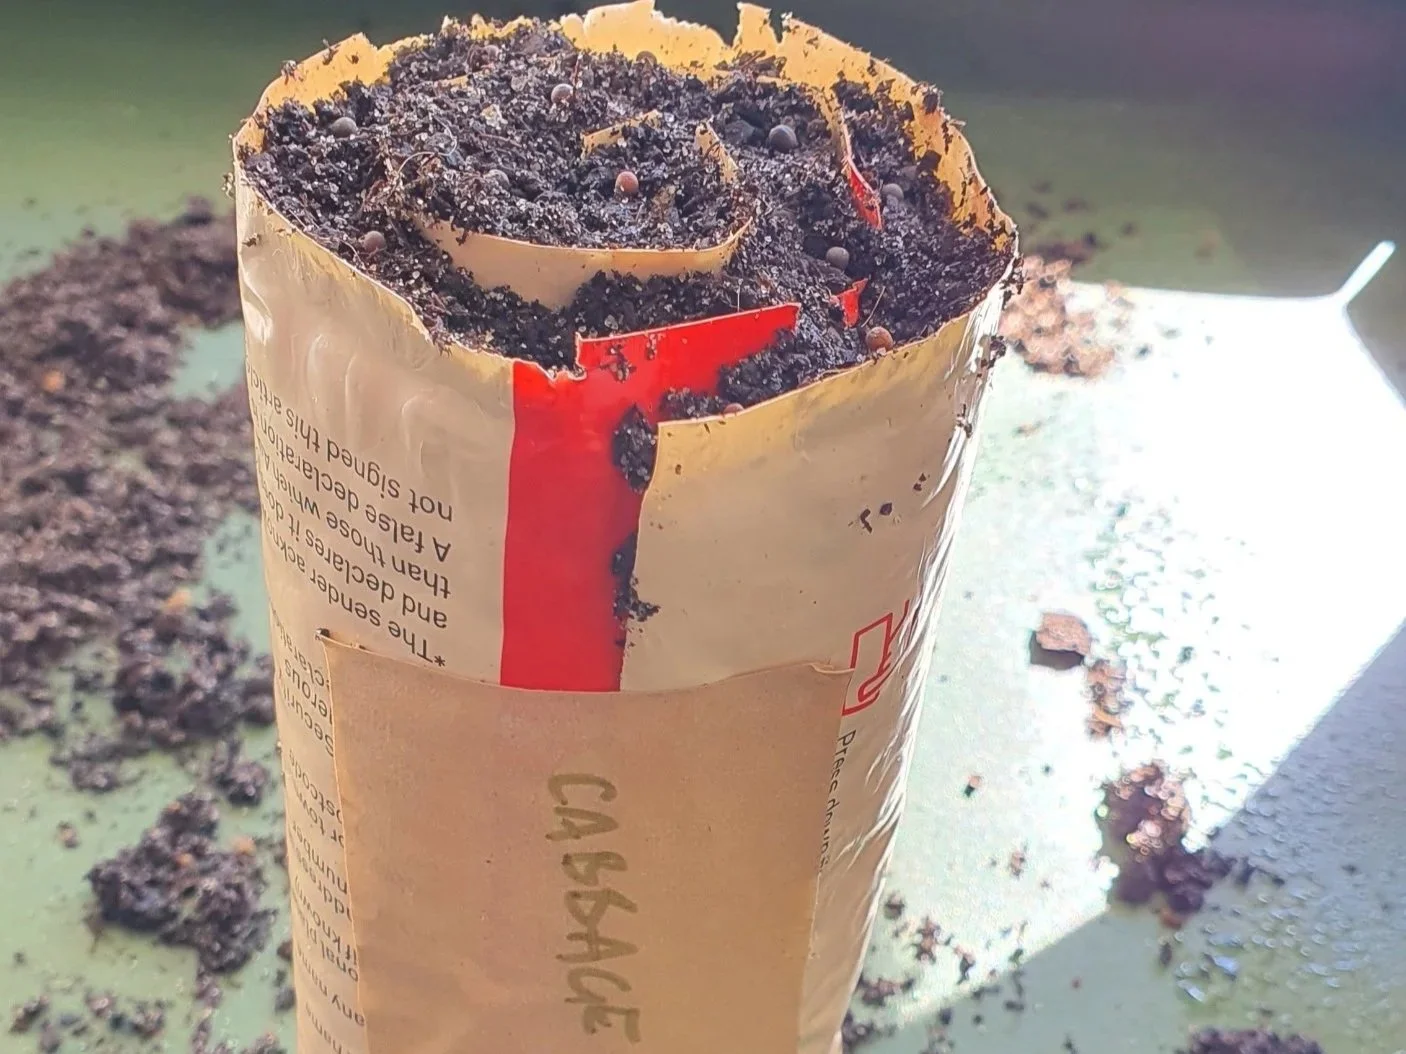
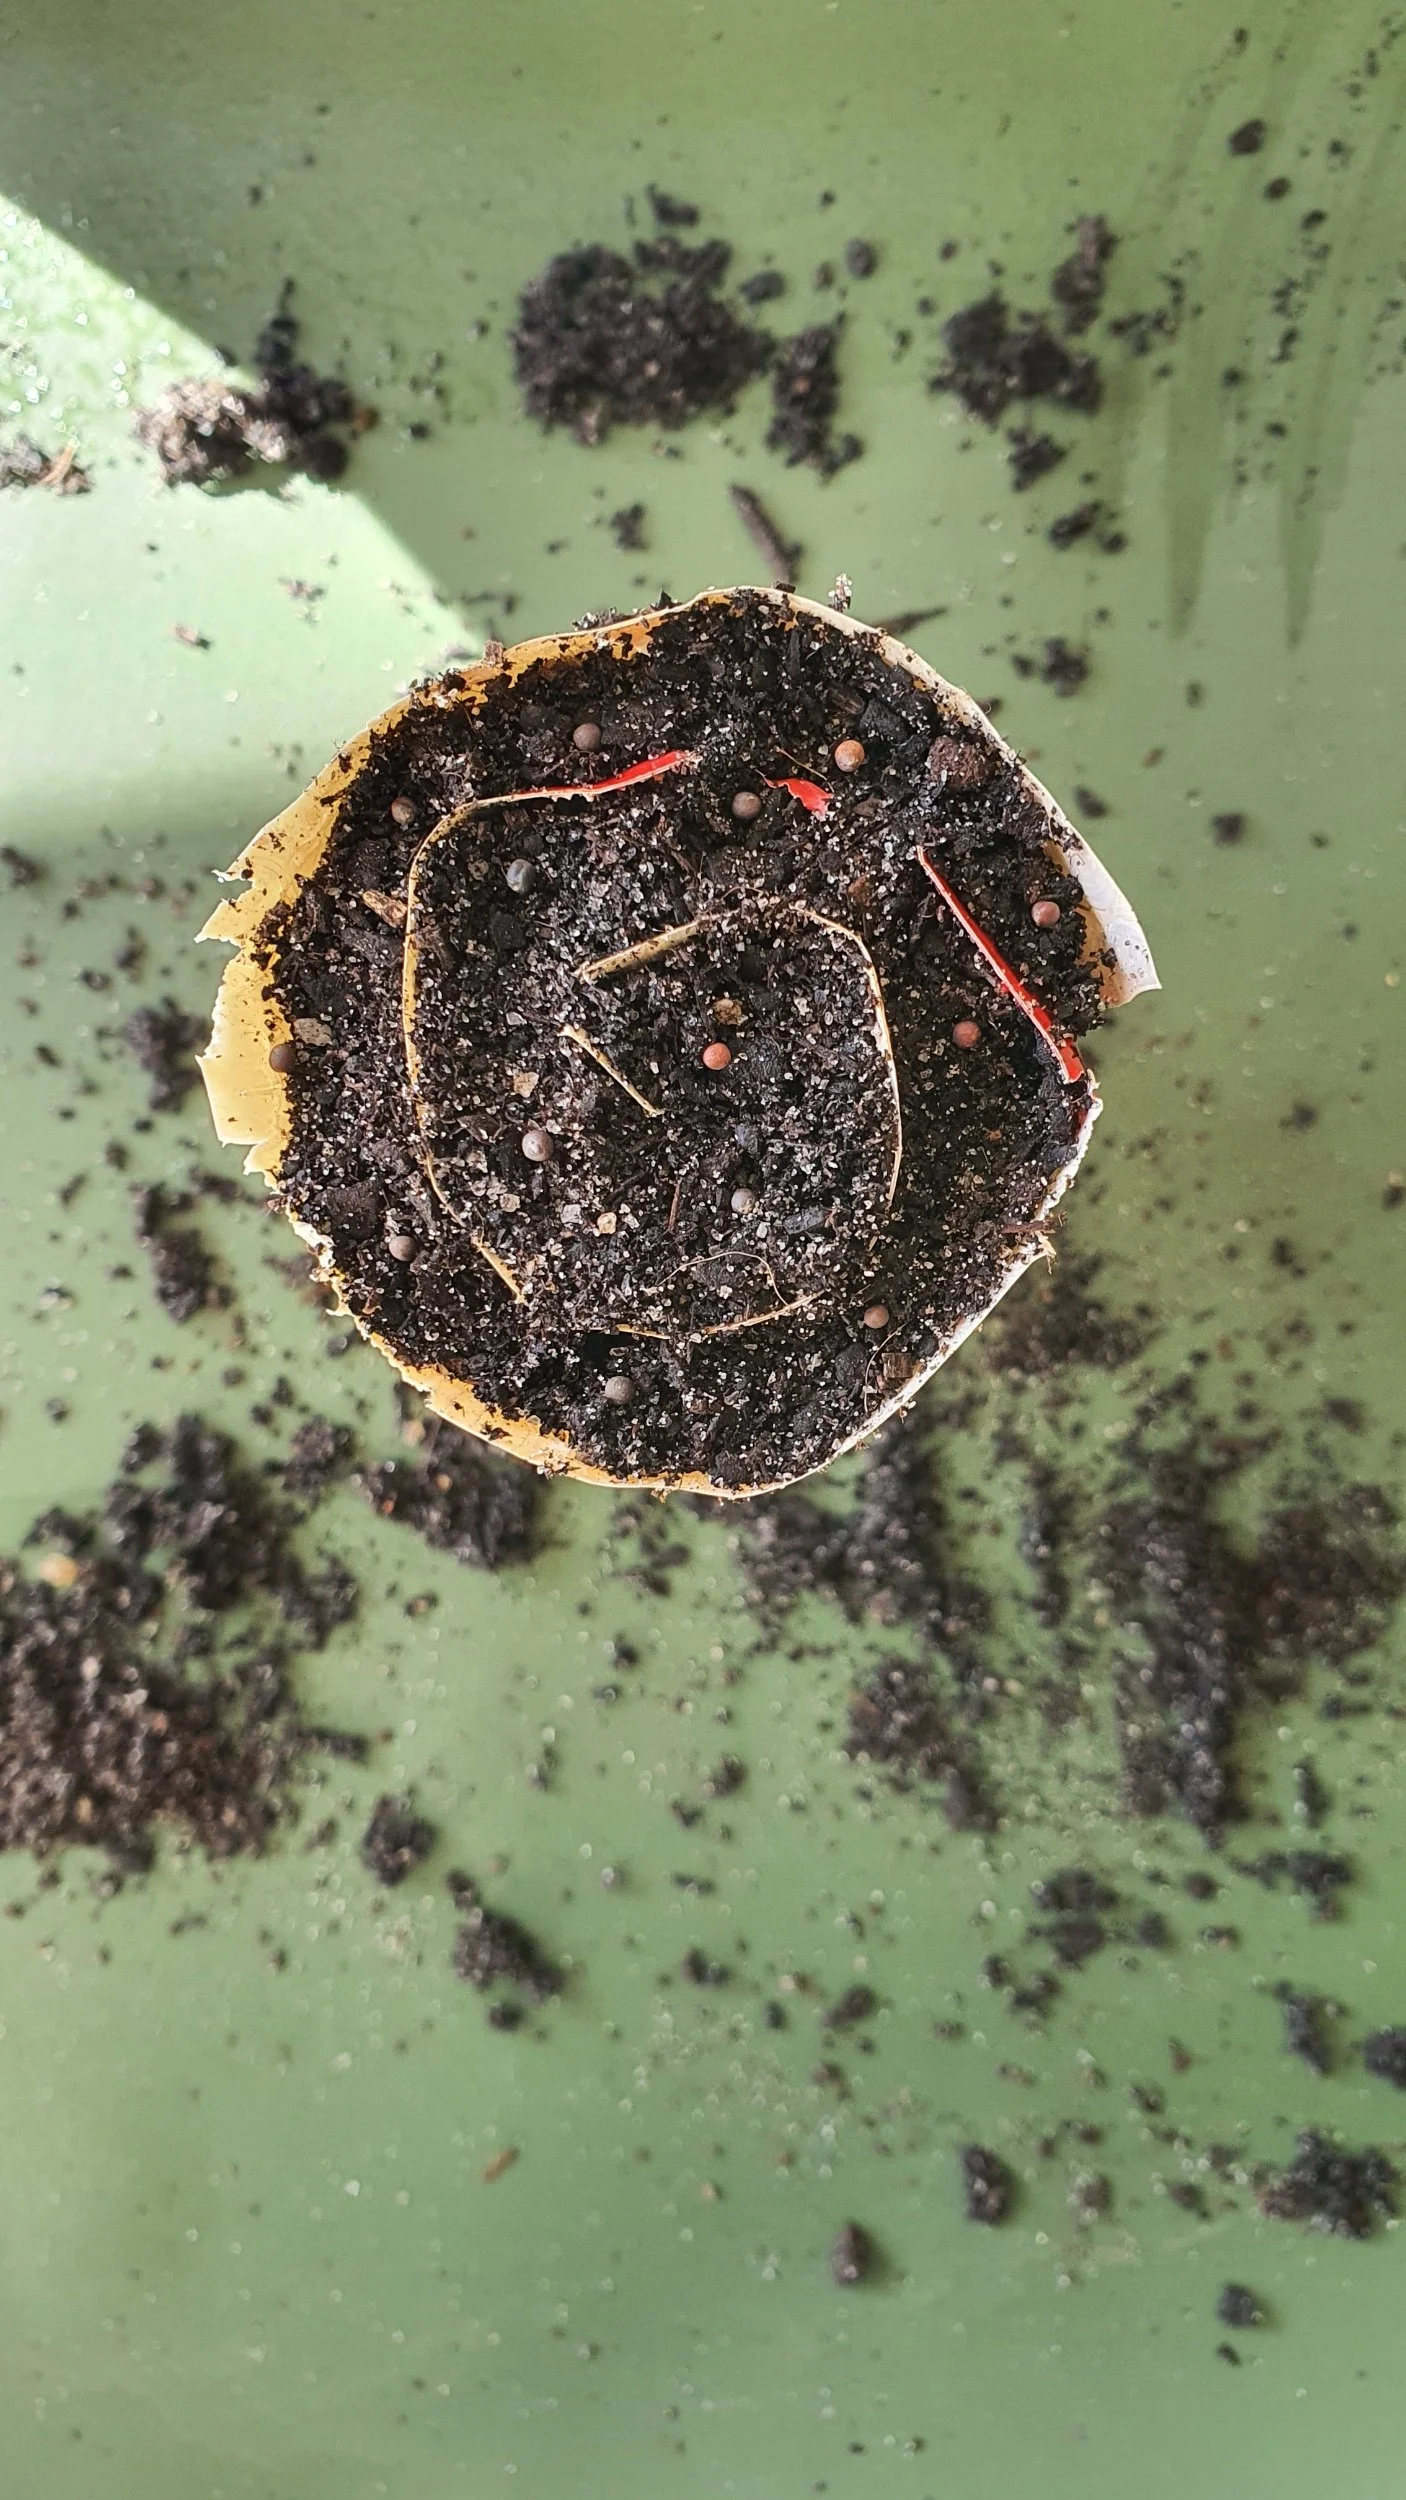
6. Place your seeds on top of the soil about 2cm apart (I could fit 12-14 seeds per snail in this example). Sprinkle a layer of seed raising mix on top, press down gently and mist again to settle.
7. Place your seed snails in a container, wedging them in to stop them falling over. Place on a sunny windowsill or sunny but sheltered position outside and add a little water to the container.
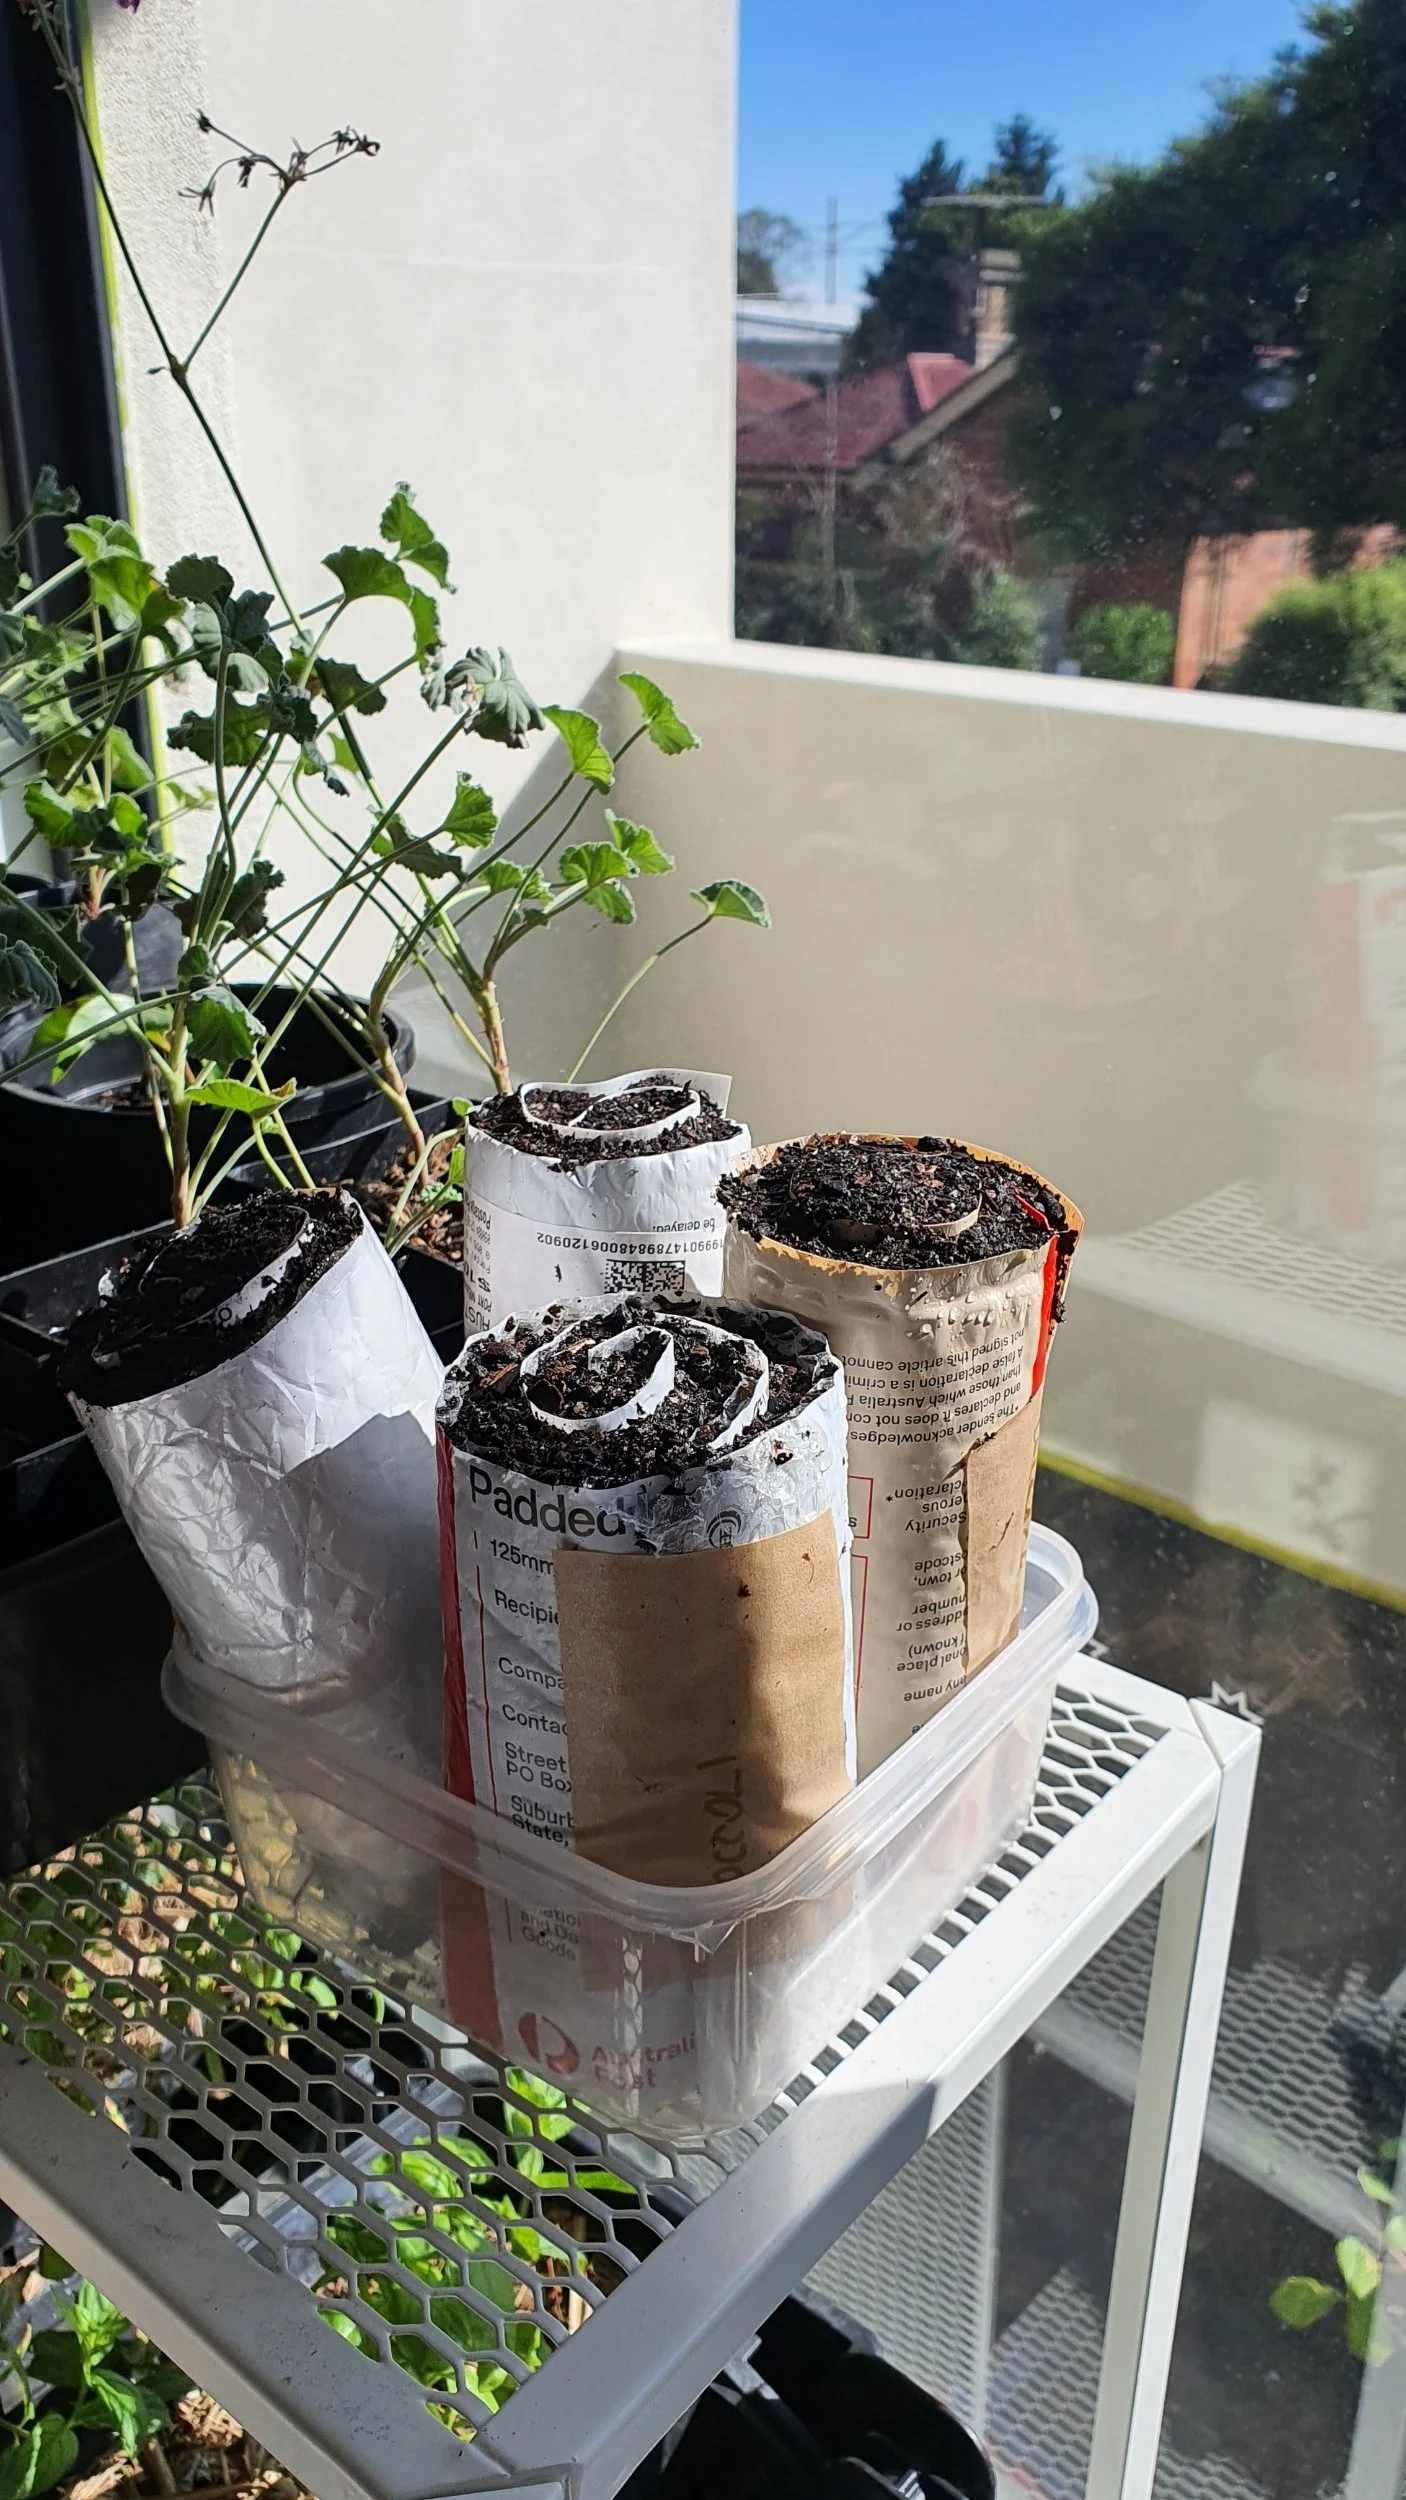
8. Continue topping up the water every few days, and you’ll start to see seedlings emerge.
9. Once seedlings have a good set of true leaves, gently unroll the snail and place each seedling into an individual punnet of potting mix.